Filtering your Inbox
Knowing how to manage and organize your emails effectively is essential to make the most out of your Shared Inbox.
One way to achieve this is by using filters on the Inbox view. Filters are a powerful tool that allows you to narrow down your search results by specifying parameters such as sender, recipient, and subject line. By setting one or more filters, you can quickly and easily find the emails you need, saving time and boosting productivity.
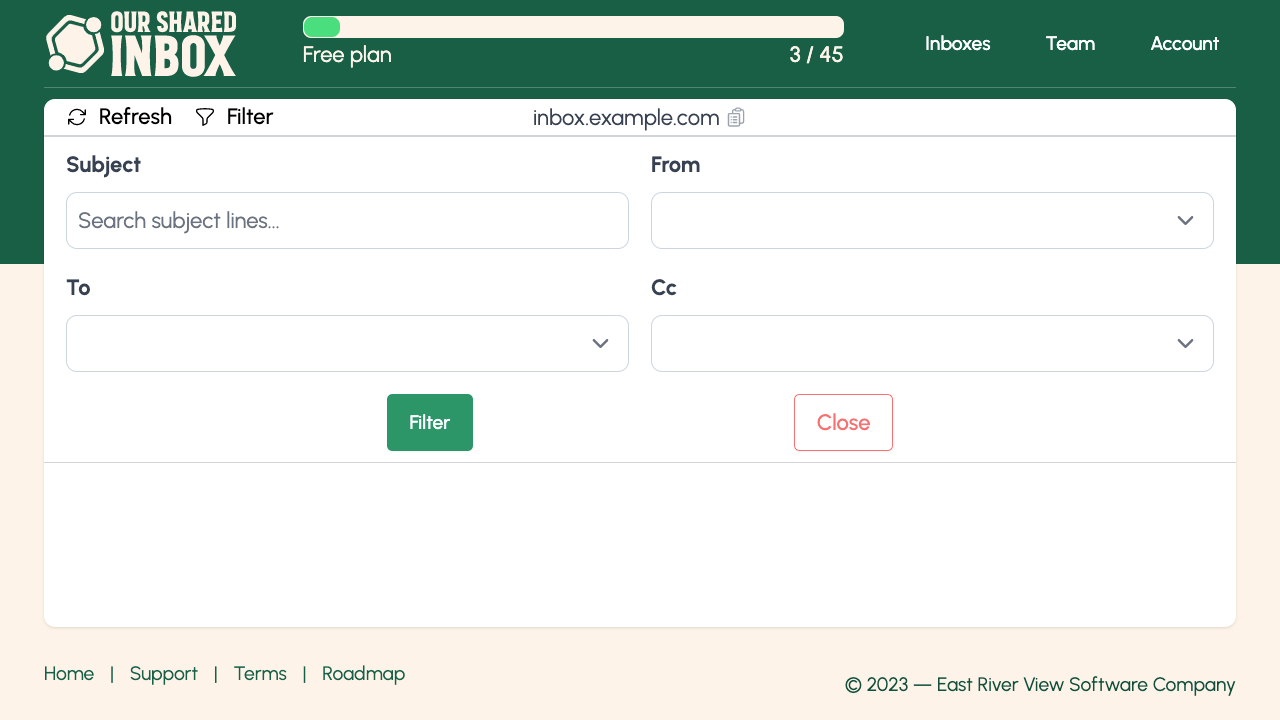
To set a filter, navigate to the Inbox view and click the "Filters" button. From there, you can select the parameters that you want to filter by, such as the sender's email address or the subject line keywords. Once you have set your filters, the Inbox view will update to show only the emails that match your criteria. You can bookmark these views as needed to save filters quickly.
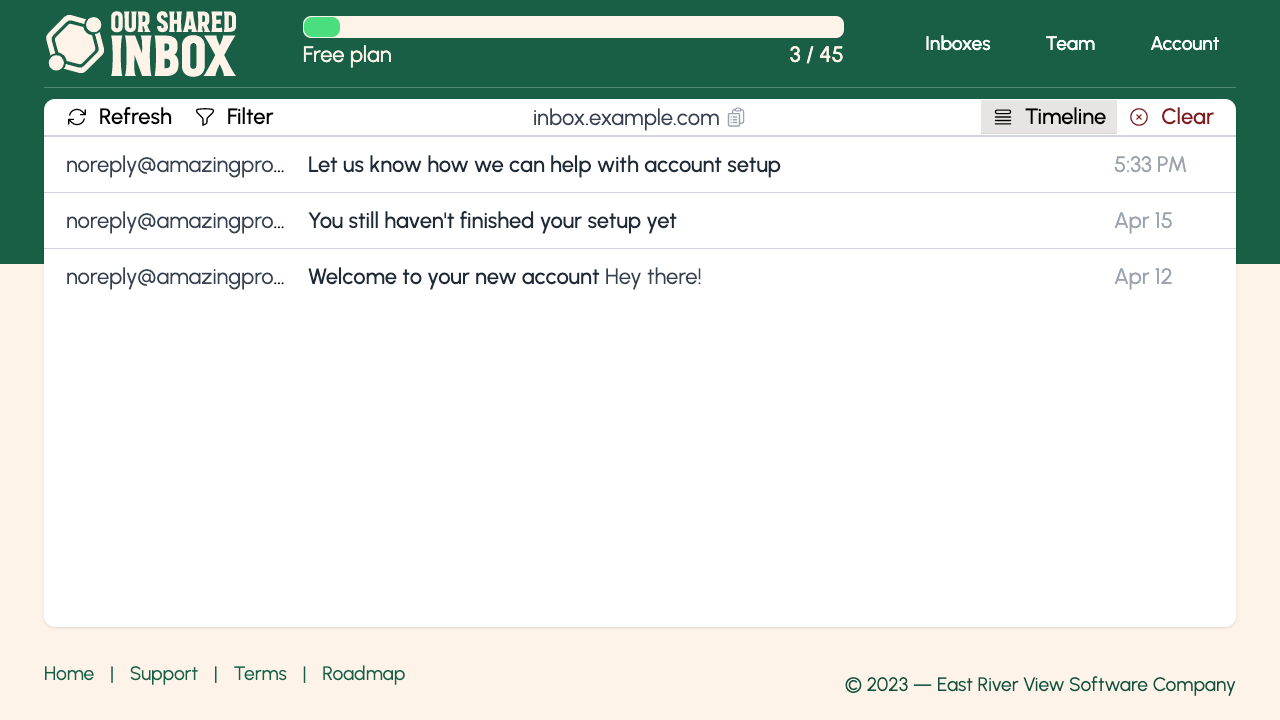
After applying one or more filters, the "Timeline" button will appear in the top right corner of the Inbox view. The Timeline feature displays all matched emails in reverse chronological order, with the most recent email at the top. Both timestamps and the time elapsed between successive emails are visible. Inbox Timelines make it easy to view sequences of emails and quickly understand the timing between them.
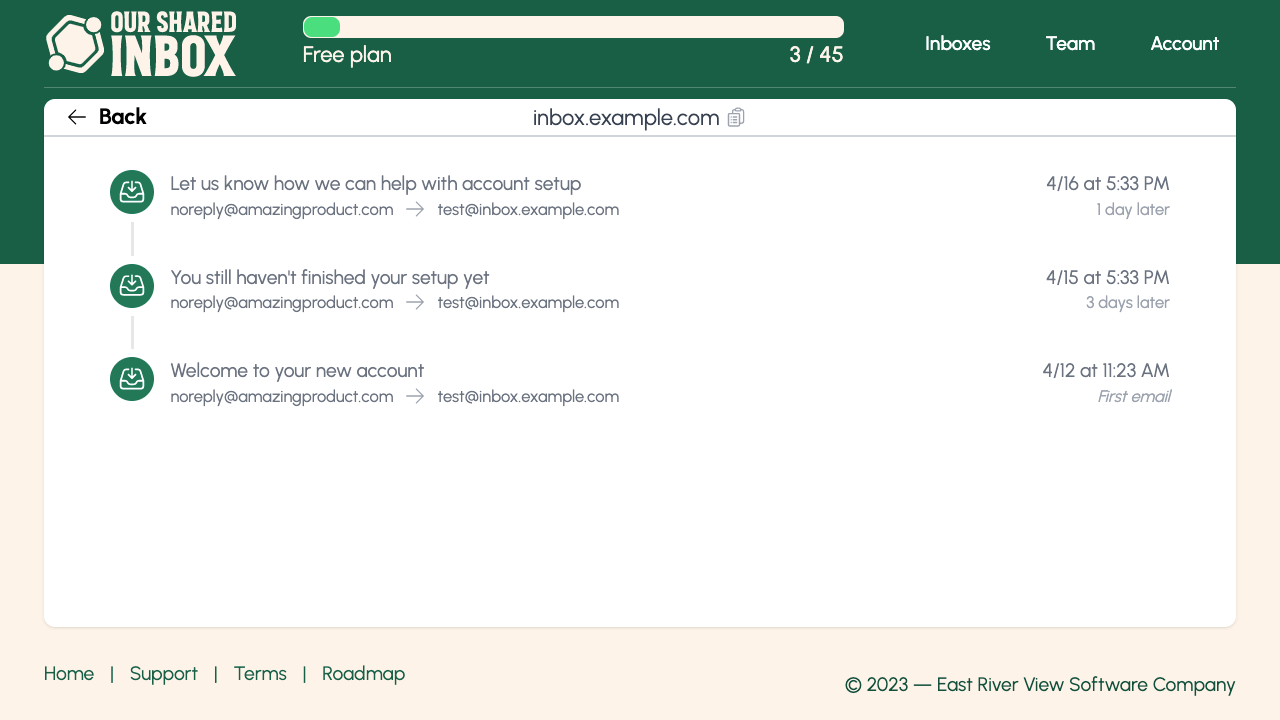
Whether you are testing onboarding flows, notifications, or marketing sequences, the Timeline is a unique email testing feature that can significantly aid you.
Our Shared Inbox allows product teams of any size to share email access across unlimited addresses. Use a Shared Inbox when testing web apps sign-up flows, email notifications and sequences, onboarding, and more.
Claim your free inbox